Support
AI-Generated Case Documents
AI-generated case documents can be created in each individual leads’ files. These documents include complaints, discovery documents, demand letters, and more using the information in the lead’s file.
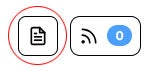
To draft AI-generated document in a lead’s file, click on the AI Assistant button in the top right corner.
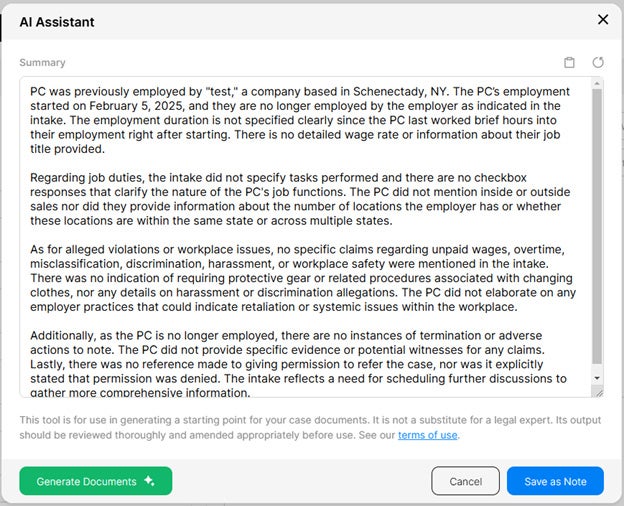
A window will pop-up with the AI-generated summary of the lead’s file. Click on the green ‘Generate Documents’ button in the bottom left corner.
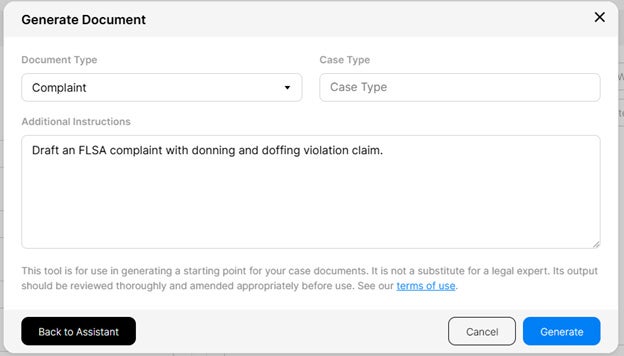
On the next screen, use the ‘Document Type’ dropdown menu to select what document that you want drafted. Then, type in the case type. You can add additional instructions for the AI prompt. Once you are done, click ‘Generate’.
Once the document is generated, click ‘Download Word Document’ to open it.
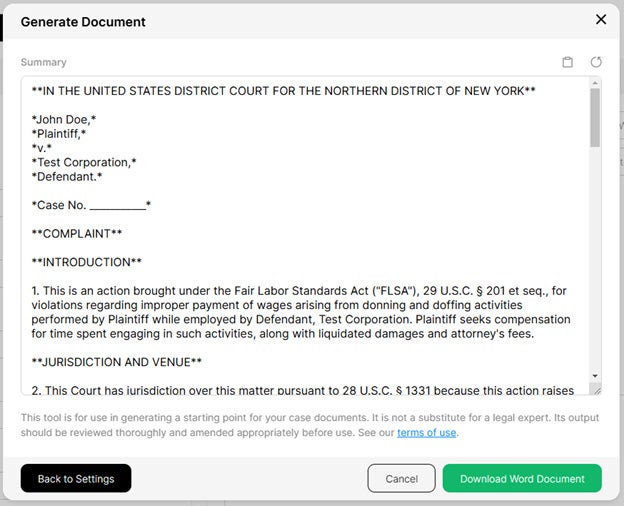
The AI-generated document will begin downloading. Once downloaded, open the Word document to review and edit.
AI-Generated Summaries
AI-generated summaries can be created in each individual leads’ files. These summaries provide a detailed overview of the information that was collected in the lead’s file and points out potential claims.
To create an AI-generated summary in a lead’s file, click on the AI Assistant icon in the top right corner.
A window will pop-up while the summary is being generated.
Click ‘Save as Note’ to save the AI-generated summary into the Notes section into the lead’s file.
The Lead Dashboard
The Lead Dashboard is the main screen or homepage. All the features can be accessed from the Lead Dashboard.
The Lead Dashboard provides an overall view of the leads' statuses and messages.
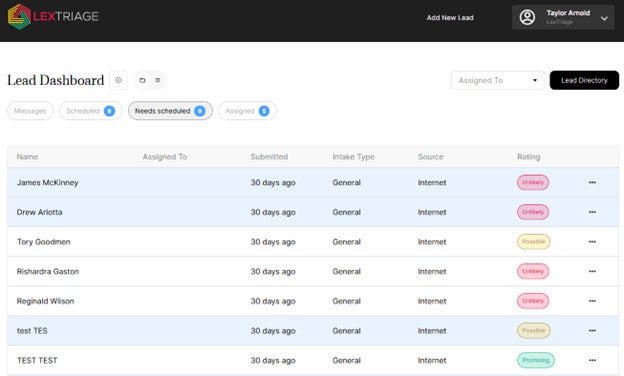
You can access the Lead Dashboard by clicking the Lex Triage logo in the upper left-hand corner.
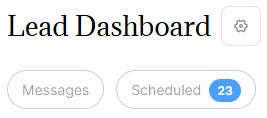
The Lead Dashboard is customizable. Each user can select which statuses appear on the dashboard and the type of view. To select the statuses that will appear on your dashboard, click the settings button next to the 'Lead Dashboard' text.
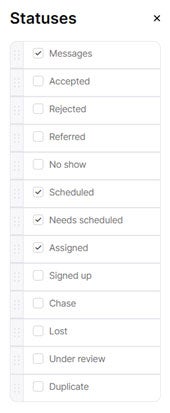
A window will pop-up, allowing you to select the statuses that will appear on your Lead Dashboard. You can also click on the grey bar next to a status and drag it to change the order in which they appear on the dashboard.
You can choose the type of view on the dashboard by selecting the folder icon for a tab option or the list icon to view the statuses in order.

On the dashboard, you can filter leads based on who they are assigned to. Click the 'Assigned To' dropdown to select the user. To reset the filter, open the dropdown and select 'Assigned To' to view all leads.

Lead Statuses
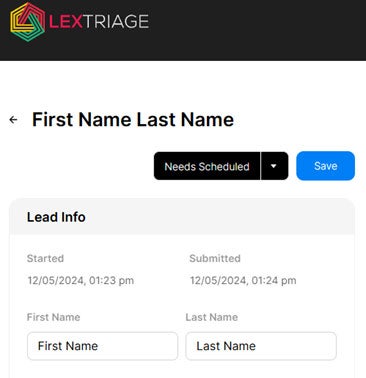
Lead statuses indicate what stage the lead is currently in. The status can be changed in the lead's file by click the status dropdown. Click 'Save' after any changes made in a lead's file.
Each status refers to a specific stage in the intake process.
Messages: New and unread messages from leads will appear in the 'Messages' section. Unread messages will appear on the Lead Dashboard.
Accepted: When the attorney decides to pursue a case with a lead and a retainer agreement has not yet been signed, the file is marked as 'Accepted'.
Rejected: If the attorney determines they will not pursue a case – either due to lack of a valid claim or other reasons – the file is marked as 'Rejected'.
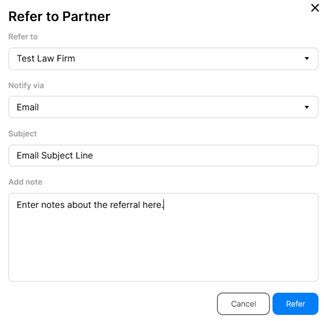
Referred: If the Attorney/Firm identifies a potential claim but will not handle the case internally, the file is marked as 'Referred'. When the status is changed to 'Referred', a pop-up will appear prompting you to select which firm to send the referral to.
No Show: When a lead misses or does not respond to a scheduled appointment, the file is marked as 'No Show'.
Scheduled: Once an appointment is successfully scheduled with a lead, the file is marked as 'Scheduled'.
Needs Scheduled: If a file is created without an appointment or if further discussion is required after the initial intake review, the file is marked as 'Needs Scheduled'.
Assigned: After the intake process is complete, the lead is 'Assigned' to an attorney for further review.
Signed Up: Once the Attorney/Firm formally accepts a case and a retainer agreement is signed by the client, the file is updated to 'Signed Up'.
Chase: If an attempt to contact the lead is unsuccessful, the file is marked as 'Chase' to indicate that further attempts to contact may be required.
Lost: When multiple attempts to contact a lead fail, or if there is no communication from the lead, the file is marked as 'Lost'.
Under Review: When an attorney is actively evaluating an intake and considering pursuing the lead, the file is marked as 'Under Review'.
Duplicate: If multiple files are created for the same lead with identical information, duplicate entries are flagged as 'Duplicate' and can be merged into a single file.
Lead Directory
The Lead Directory lists all the leads' files and allows you to view, filter, and edit the files. Access the Lead Directory from the dashboard.

The Lead Directory shows the date submitted, appointment date and time, name of the lead, assigned team member, and the status.

Filter leads by 'Status' to see all leads in a specific status. You can also filter leads by 'Assigned To' to see all leads assigned to a specific team member. To filter leads by 'Status' or 'Assigned To', use the dropdown boxes to make selections.
Use the search bar to search for leads by name, phone number, or email address.

Lead Files
Each individual lead's file allows you to enter their information, attach documents, and message back and forth with the lead.
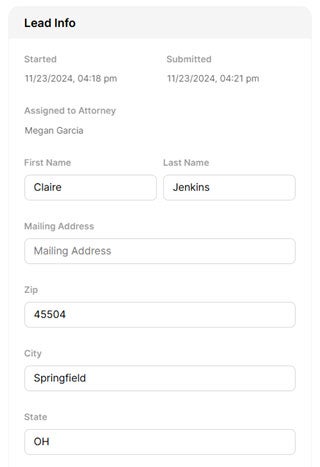
The 'Lead Info' section includes the lead's contact information, who the lead is assigned to, appointment date and time, marketing source, settlement amount, and initial notes.
The 'Intake Questions' section includes the customized question sets. Information about the lead's employment that is collected during the screening is entered into this section.

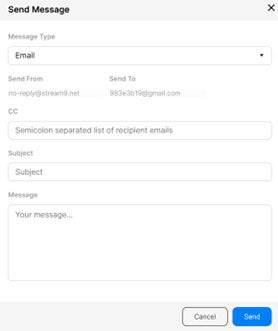
The 'Messages' section allows you to message back and forth with the lead. Click the envelope icon to send an email from the lead's file. A pop-up will appear that allows you to send an email to the lead, cc: additional email addresses, add a subject, and message.
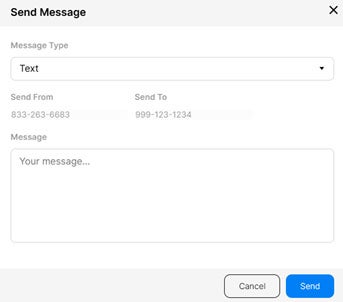
To send a text message to the lead, click the cell phone icon. A pop-up will appear to type your text message.
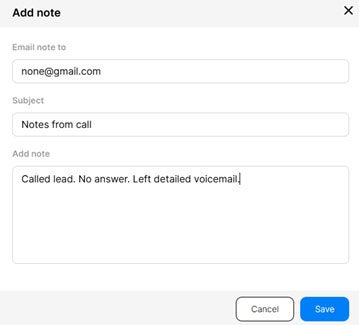
The 'Notes' section allows you to add notes to the file. Click the plus symbol and a pop-up will appear to add a note. An option to email the note will appear. Click 'Save' and the note will appear in the lead's file.
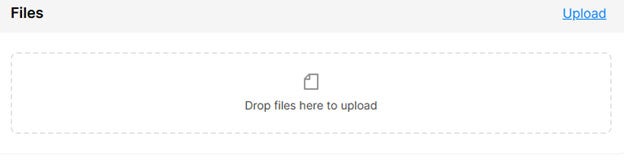
Drag and drop documents into the 'Attachments' section to save into the file. You can also click 'Upload' and select documents from your computer to save into the file.
Add New Lead
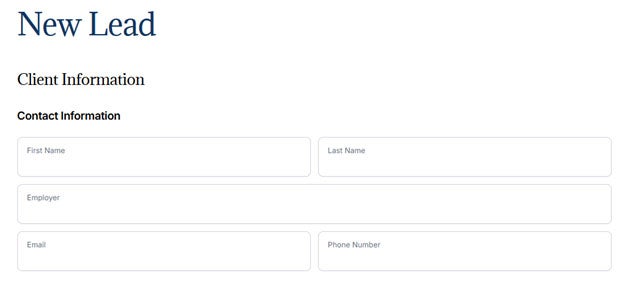
You can add a new lead directly from the intake software. Click 'Add New Lead' in the top right corner.

Enter the lead's contact information.
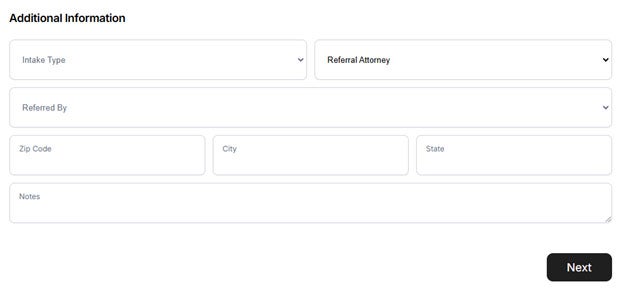
In the 'Additional Information' section, select the 'Intake Type' and 'Marketing Source'. Select the 'Referred By' firm name, if applicable. Enter the lead's location information. Enter any notes about the lead in the 'Notes' section. Once the information is entered, click 'Next'.
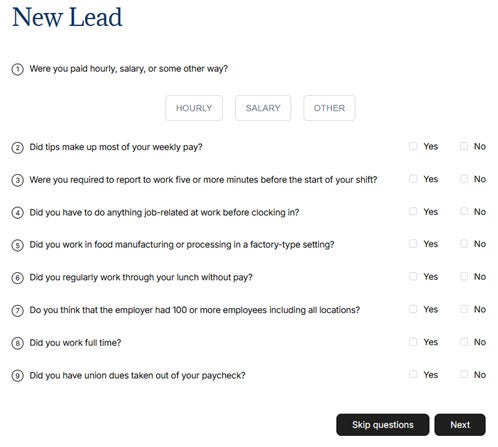
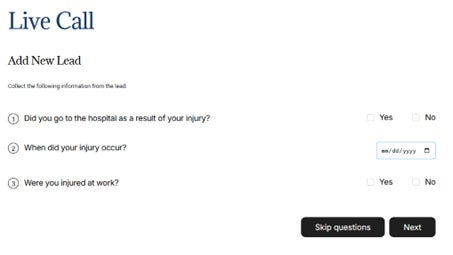
Answer the questions on the next screen. (The questions that appear will be the customized model that you create and chose for the 'Live Call' form.)
Then click 'Next'. There is also an option to 'Skip Questions'.
The lead will appear on the Intake Dashboard under the status 'Needs Scheduled'.
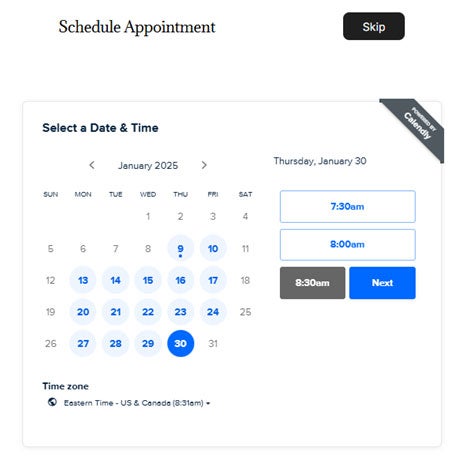
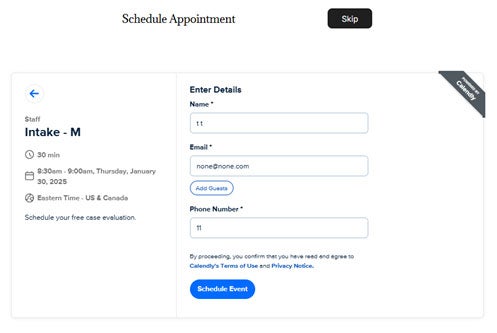
*If your software is integrated with Calendly, the available appointments calendar will appear. Select the date and time to schedule the appointment.
Confirm that the appointment is correct and click 'Schedule Event'.
The lead will appear on the Intake Dashboard under the status 'Scheduled'.
Customize Models (Question Sets)
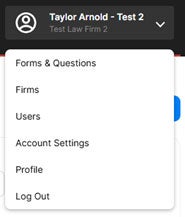
Click on the profile icon in the top right corner to access the dropdown menu.

Then click 'Models'.
The list of existing question sets, or models, will appear. To create a new model, click 'New Model +'.
Add a name for the new model.
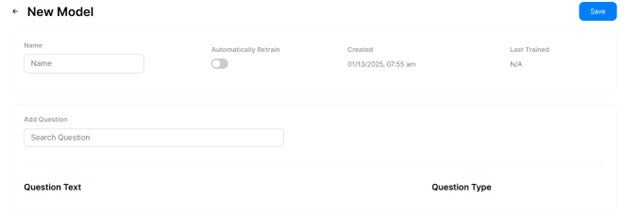
To add questions to your model, type the question under 'Add Question' in the search bar.

If the question does not already exist, the results will say 'No questions found'. Click 'New Question +' to add the question to your model. A pop-up will appear with the new question and options to select the 'Question Type'.

- Yes/No = Provides a radio option to select either 'Yes' or 'No' as a response to a question.
- Multiple Choice = Displays radio options allowing the user to choose a single answer from a list of choices.
- Multi Choice = Provides a list of options where the user can select more than one answer, if applicable.
- Number = Enables input for numeric values only.
- Date = Enter a date.
- Text = Provides a single-line input box for entering a short response.
- Textarea = Offers a larger input box suitable for longer responses, such as notes or detailed comments.
Once you have selected the 'Question Type', click 'Save'. Your new question will appear in the list of questions.
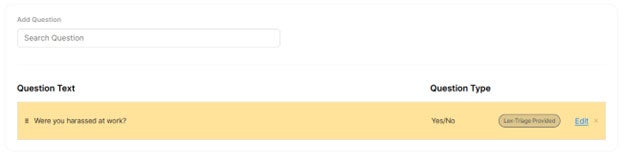
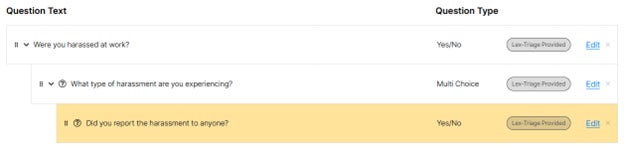
To set up questions with conditional logic, include all the questions that will be linked to the specified conditions.
Choose the question you want to include in the conditional logic sequence and use the six dots on the left to drag it. Place the question beneath the main question, ensuring it is indented to the right to indicate it is part of the conditional logic.
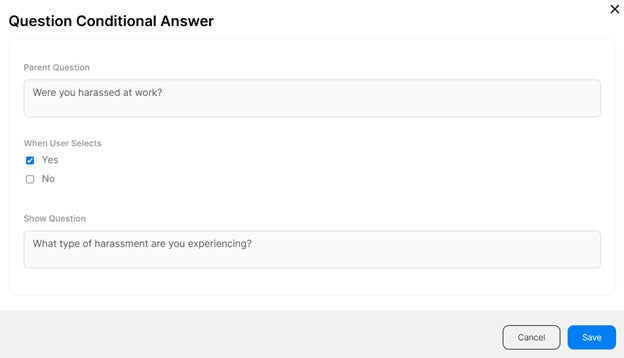
Click the question mark next to the conditional logic questions.

Make selections based on how you want the conditional logic to work.
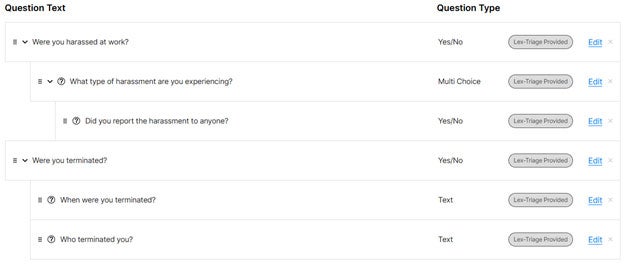
You can add as many questions to the model as you want. You can easily drag and drop questions to change the order in which they appear.
Referral Dashboard
Click on the profile icon in the top right corner to access the dropdown menu.

Click 'Firms' to access the referral dashboard.
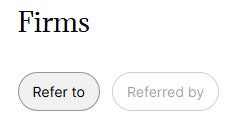
'Refer to' firms will appear as options to refer leads to, or outgoing referrals.
'Referred by' firms will appear as options for marketing source, or incoming leads.
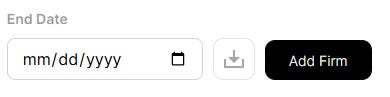
To add a law firm to the referral dashboard, click 'Add Firm' in the top right corner.
Enter the information about the referral law firm. The email addresses that are entered will receive the email notifications when a lead is referred.
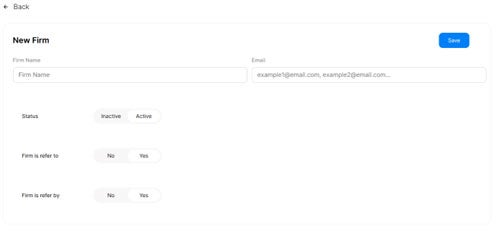
Make edits or manage the status of referral firms using the edit icon next to the firm's name.

Active – Referral firm will appear in the list of options for referrals and can access the referral dashboard.
Inactive – Referral firm will NOT appear in the list of options for referrals but can still access the referral dashboard for existing leads.
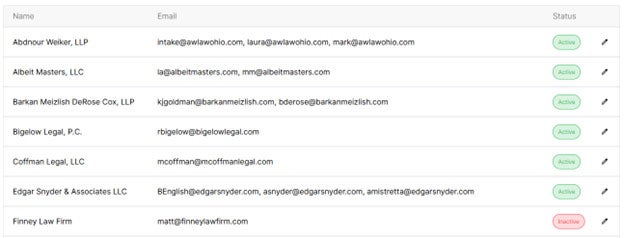
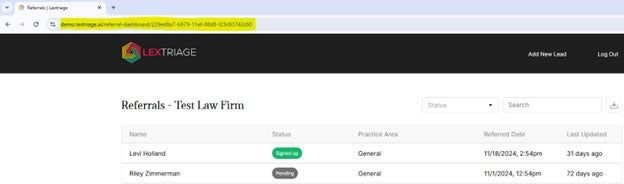
To access a firm's individual dashboard, click the firm's name.
All referred leads will be listed in the firm's dashboard. You can search by a lead's name using the search bar or filter leads by status by using the 'Status' dropdown.
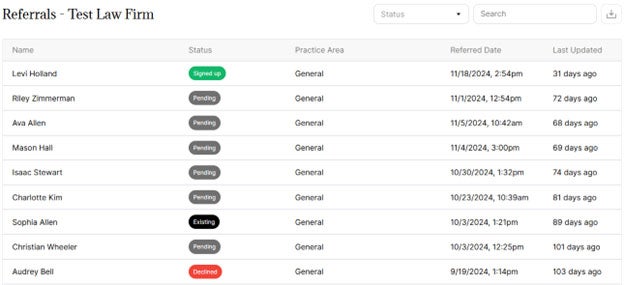
Click on a lead to access their individual file.
Share access to the individual firm's dashboard by sending the custom URL to the referral partner. Open the firm's individual dashboard, copy and paste the URL to the dashboard, and send the link to the referral partner. The referral partner can bookmark the page to access their referral dashboard at any time.
Run a report of referred leads by entering the dates in the 'Start Date' and 'End Date' boxes near the search bar. Once the dates are added, click the 'Download' icon. The report will download as a CSV file.

Add & Manage Users
Click on the profile icon in the top right corner to access the dropdown menu. Click 'Users' to access user management.

Click 'Add User' to add a new user to the software.
Enter the user's information and role(s).
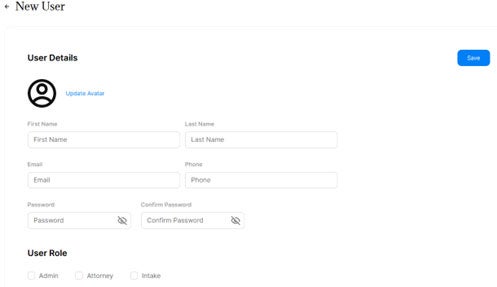
The user will receive an email inviting them to access Lex Triage Intake.
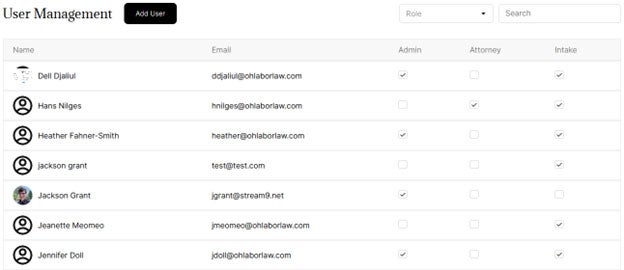
Make edits to any existing user profiles by clicking their name in the list. Update user roles by checking the appropriate boxes.
Account Settings
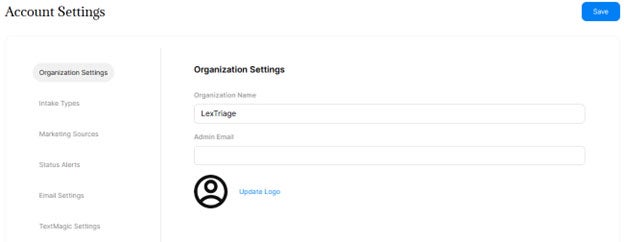
Click on the profile icon in the top right corner to access the dropdown menu. Click 'Account Settings' to access settings.

'Organizations Settings' allows you to change the organization name, admin email, and upload the firm's logo.
Field Customization
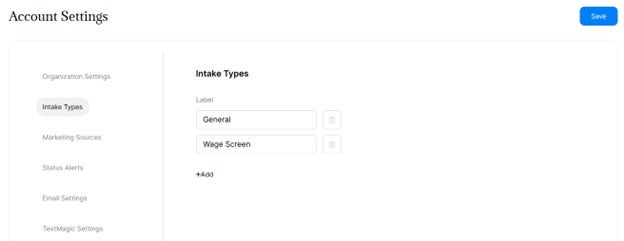
Click on the profile icon in the top right corner to access the dropdown menu. Click 'Account Settings' to access settings.
'Intake Types' allows you customize the type of intake identified. Examples include Personal Injury, Medical Malpractice, Employment, Wage & Hour, etc. The 'Intake Types' will appear in each individual lead's file.
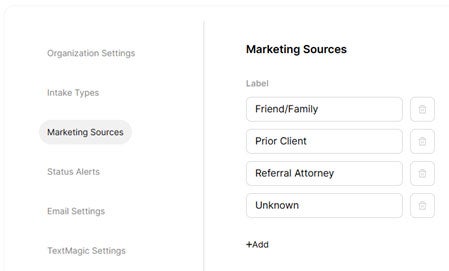
'Marketing Source' allows you to add and edit referral sources to identify where a lead originated from.
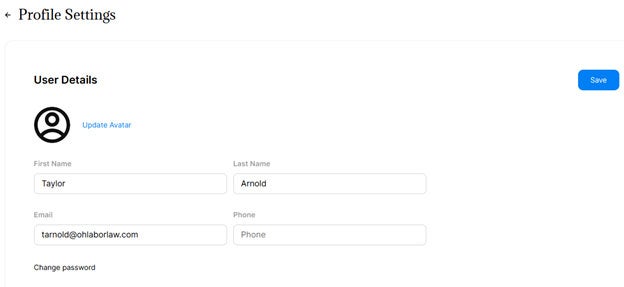
Profile Settings
Click on the profile icon in the top right corner to access the dropdown menu. Click 'Profile' to access your user profile.
Edit your name, email address, phone number, upload a user avatar, or update your password.
Status Alerts
Status Alerts are customized automated messages that are sent based on a lead's status change. The messages can be sent as email and/or text message.
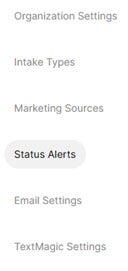
Click on the profile icon in the top right corner to access the dropdown menu. Click 'Account Setting' to access Status Alerts.

Select 'Status Alerts' in the menu.
To add a Status Alert, click '+Add'.

Select the status that will trigger the automated message under 'Status'. Select the 'Intake Types' if applicable.
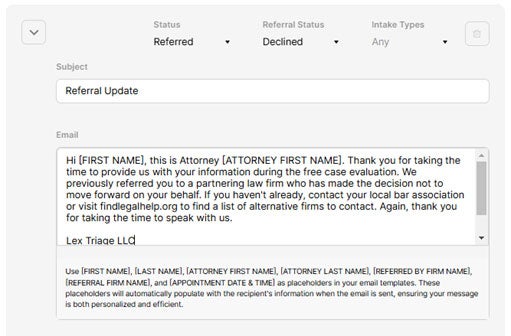
If the selected status is 'Referred', you can select a secondary status. For example, if the lead is referred to another law firm, an automated message can be set up to send a message to the lead letting them know they have been referred to another law firm. Additionally, if the referral law firm changes the lead's status to 'Declined' an automated message can be set up to send a message to the lead letting them know that they have been declined by the referral law firm.
There are two options for automated messages: email and message. Message refers to text messages.
Type out the automated message that you want the lead to receive. Use the prompts below the message section to pull information from the lead's file.

Below are examples of commonly used automated Status Alerts that can be created.
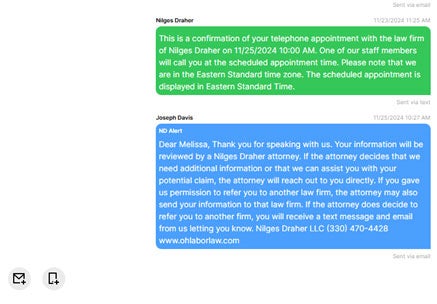
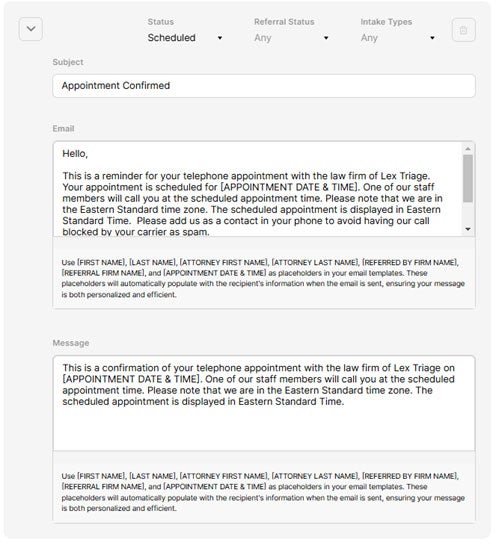
Example of 'Scheduled' status automated email and text message.
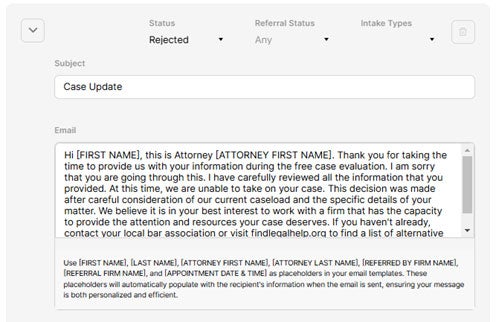
Example of 'Rejected' status automated email.
Example of 'Referred' status and 'Declined' sub-status email.
Forms
A form is a set of questions for leads to fill out and submit their information. It can be hosted on its own URL or embedded on your website. Forms can trigger actions, like sending email alerts to you or displaying a Calendly schedule (if applicable). When a lead submits a form, their information is automatically added to the intake dashboard.
You are required to make a 'Live Call' form. The 'Live Call' form will be used internally to manually add leads to your dashboard. Creating additional forms are optional.
Creating 'Live Call' form
To create a 'Live Call' form, click on the profile icon in the top right corner to access the dropdown menu.

Select 'Forms & Questions'.
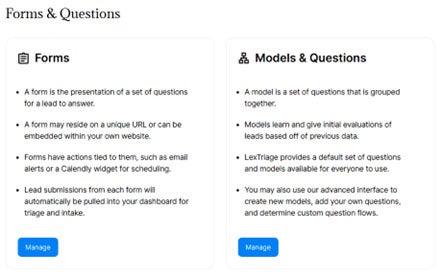
Under 'Forms', select 'Manage'.
To create a new form, click 'New Form +' in the top right corner.
Name your form (i.e. Live Call or Add New Lead).
Type a 'Form URL'. If a URL name is already taken, you will receive an error message prompting you to choose a unique URL name.
Select up to two models (question sets) that you want linked to your form.

Under 'Settings', select the 'Live Call' template in the dropdown.
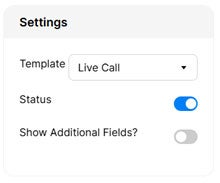
The default fields will appear on every form. The 'Show Additional Fields' toggle will add the fields below.
Default Fields
- First Name
- Last Name
- Zip
- Phone Number
- Employer
Show Additional Fields
- How did you hear about us?
- Please describe your employment issue.
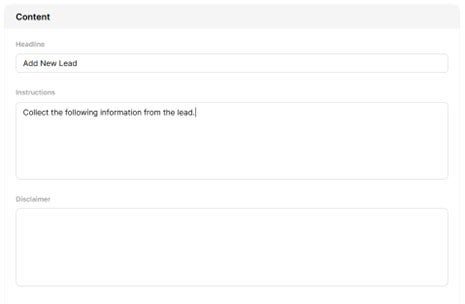
Under 'Content' you can add text that will appear on your 'Live Call' form.
The 'Actions' section allows you to choose how the Triage App will prioritize incoming leads. The Promising, Possible, and Unlikely thresholds have the option for different actions. You can also assign the same actions for all three thresholds.
Calendly – If Calendly is integrated into your account, a calendar will appear to schedule an appointment.

Email – The email address that is entered will receive an email notification when a lead's form is submitted.
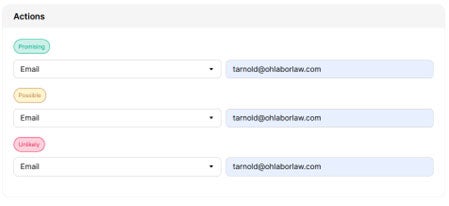
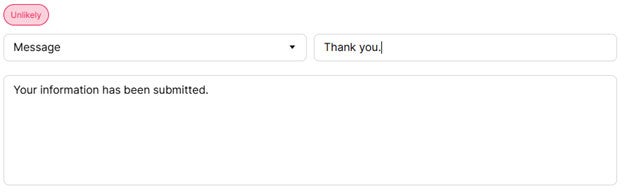
Message – A message will appear after the form is submitted. The lead's file will automatically appear in the dashboard.

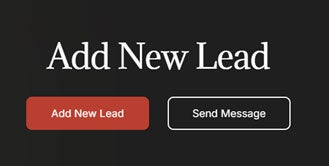
Once your form is complete, click 'Save'. You can preview the form after saving by clicking the View icon.

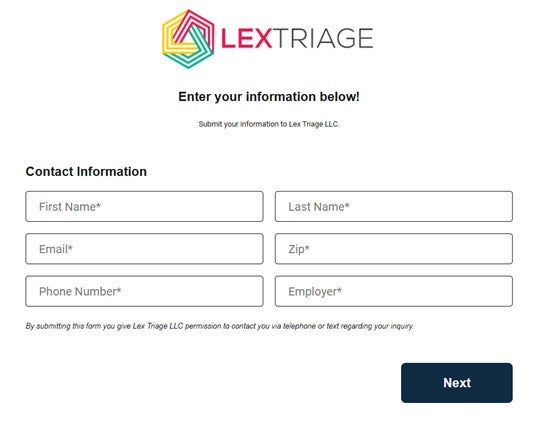
Below is an example of the preview for the 'Live Call' form created.

Creating 'Basic' Form
A 'Basic' form can be used to collect lead information via a unique URL or by embedding the form into your website. Basic forms will be used by leads.
The setup for creating a 'Basic' form is similar to creating the 'Live Call' form.
To create a 'Basic' form, click on the profile icon in the top right corner to access the dropdown menu.
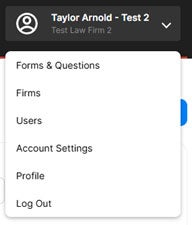
Select 'Forms & Questions'.

Under 'Forms', select 'Manage'.
To create a new form, click 'New Form +' in the top right corner.

Name your form (i.e. Website form).
Type a 'Form URL'. If a URL name is already taken, you will receive an error message prompting you to choose a unique URL name.
Select up to two models (question sets) that you want linked to your form.

Under 'Settings', select the 'Basic' template in the dropdown.
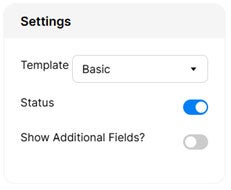
The default fields will appear on every form. The 'Show Additional Fields' toggle will add the fields below.
Default Fields
- First Name
- Last Name
- Zip
- Phone Number
- Employer
Show Additional Fields
- How did you hear about us?
- Please describe your employment issue.
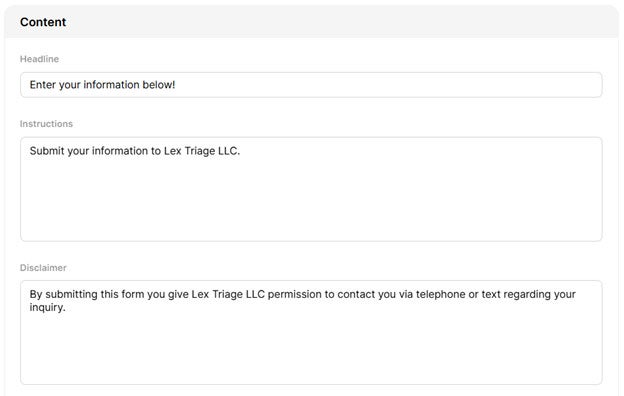
Under 'Content' you can add text that will appear on your 'Basic' form.
The 'Actions' section allows you to choose how the Triage App will prioritize incoming leads. The Promising, Possible, and Unlikely thresholds have the option for different actions. You can also assign the same actions for all three thresholds.
Calendly – If Calendly is integrated into your account, a calendar will appear to schedule an appointment.

Email – The email address that is entered will receive an email notification when a lead's form is submitted.
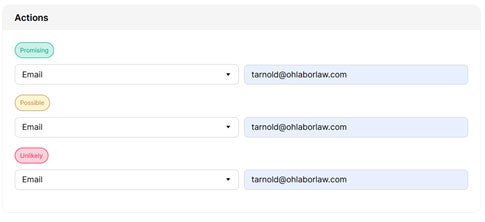
Message – A message will appear after the form is submitted. The lead's file will automatically appear in the dashboard.
Once your form is complete, click 'Save'. You can preview the form after saving by clicking the View icon.

Below is an example of the preview for the 'Basic' form created.